
When all my friends and family are back home bragging about their flip flops and fireflies and zippa-dee-doo-dah-days on the boat and in the garden this time of year, I find myself staring longingly at the frozen tundra wishing for a single blade of grass to peek through. Sigh.hhhhhhhh. Alas, I have another month (or two). But wait, this is NOT a sad post. Last year, Little 'Possum and I decided if we couldn't plant flowers we would just make some, and this is what we did.
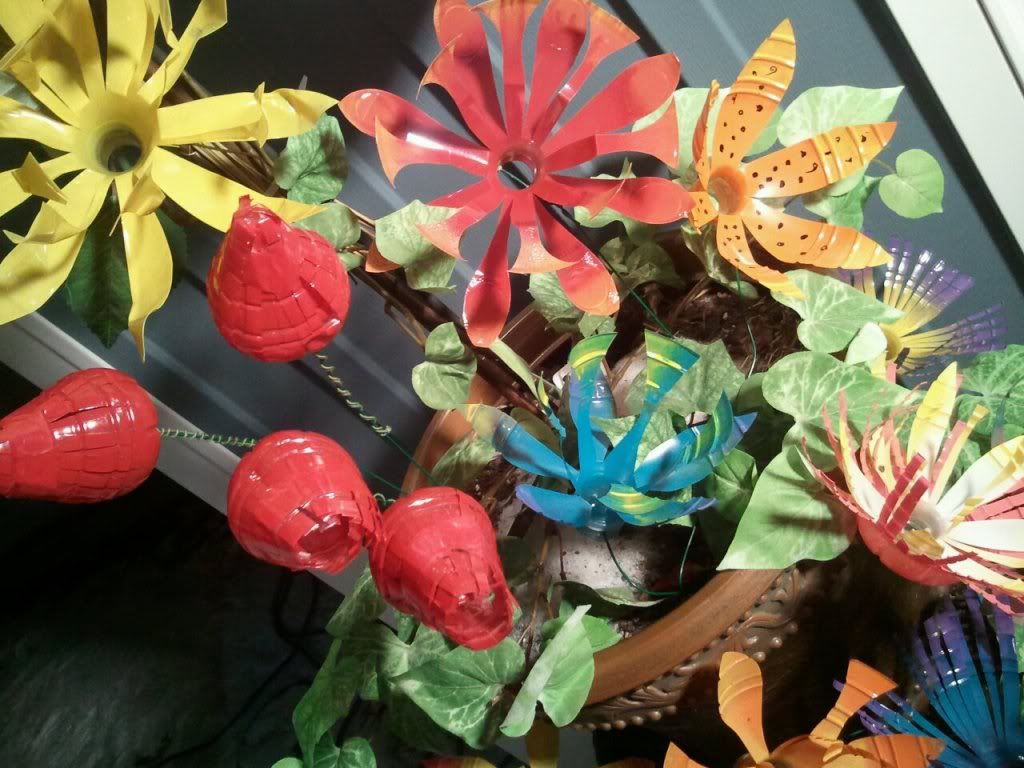
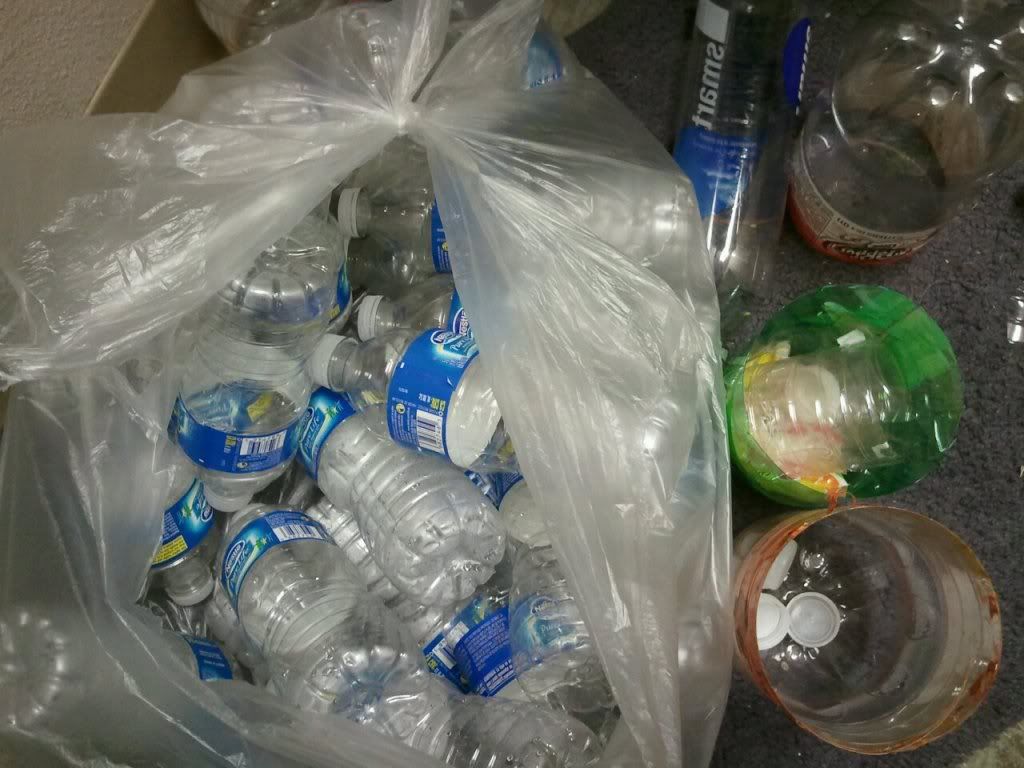
These are made from water and soda bottles from the recycle bin! How cool is that??? We didn't have quite enough so, like good little 'possums we hit up the recycle dumpster in our neighborhood, and found a bag of water bottles right on top! SCORE!
Now to the how-to. You can look at various YouTube videos (search water bottle flowers or something like that), or this is my step by step.
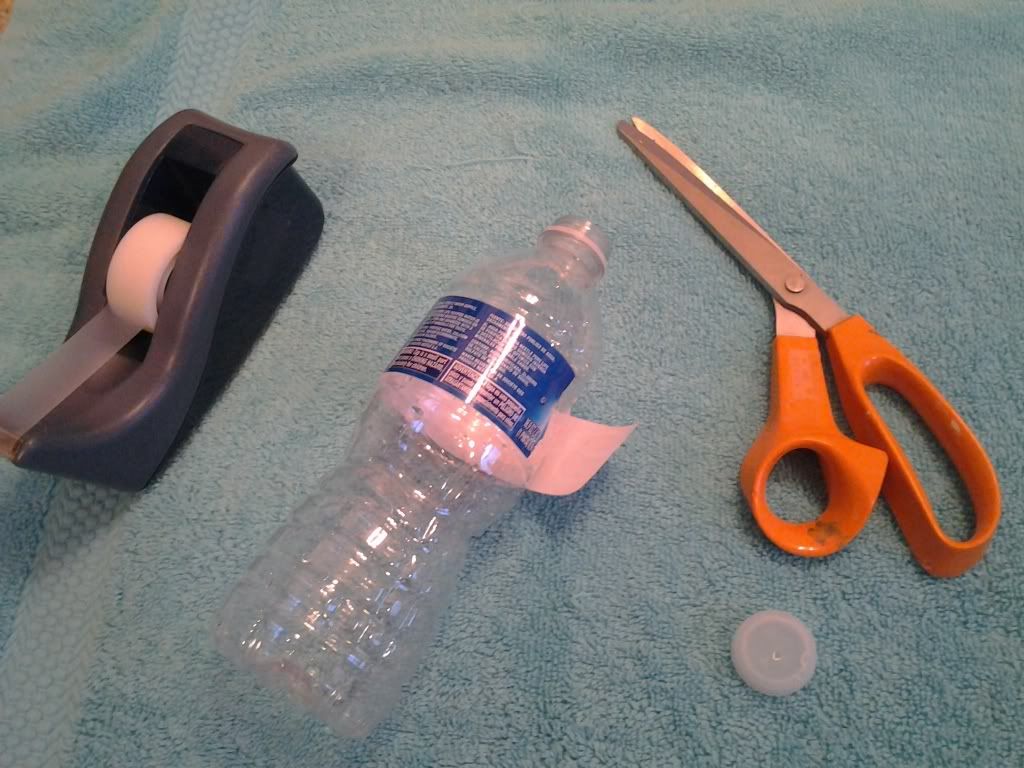
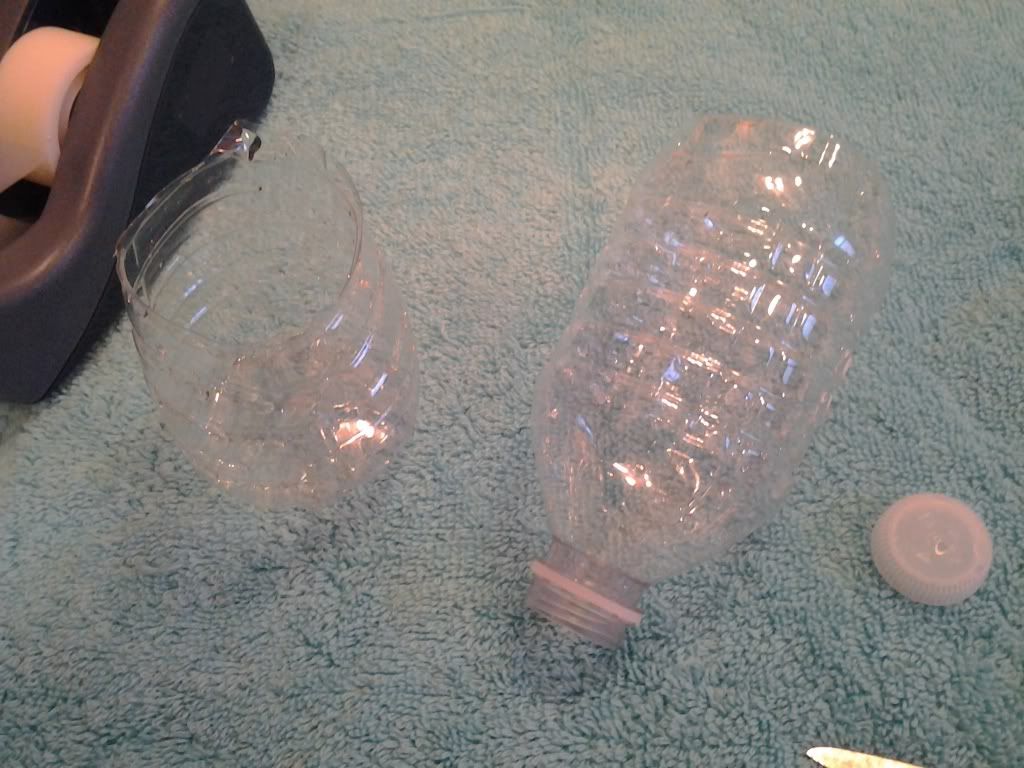
Scissors, tape, water bottle...take off cap, peel off label.
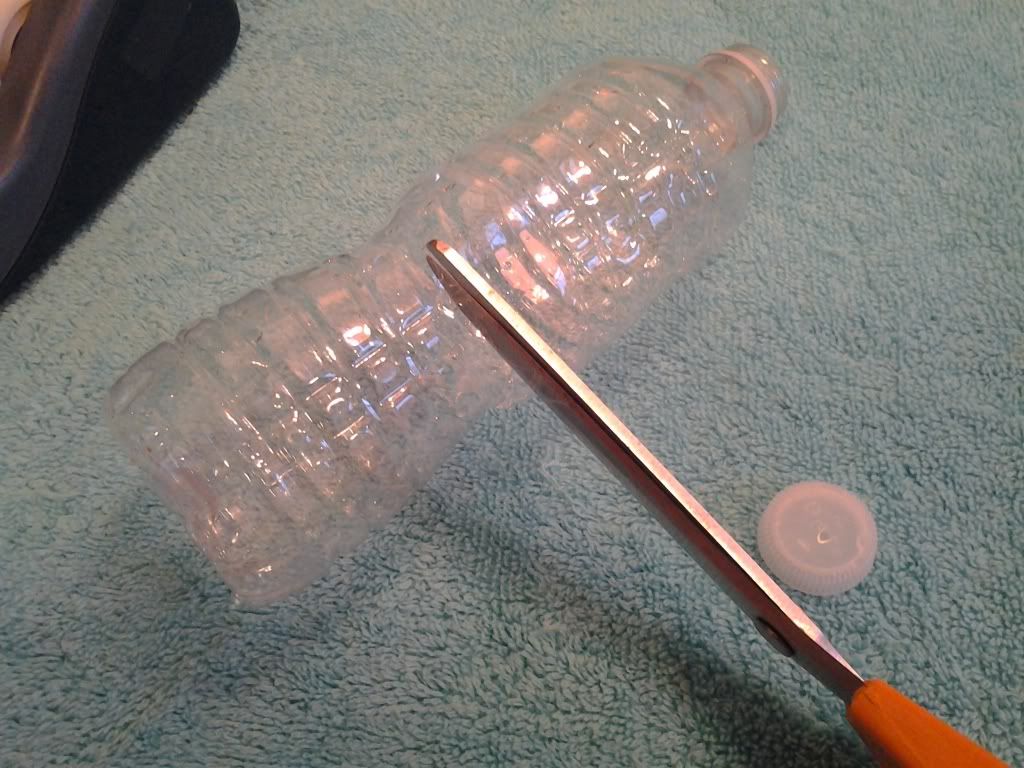
Cut the bottle about half way down. Take the bottom off.
Not too short. This determines the length of your petals.
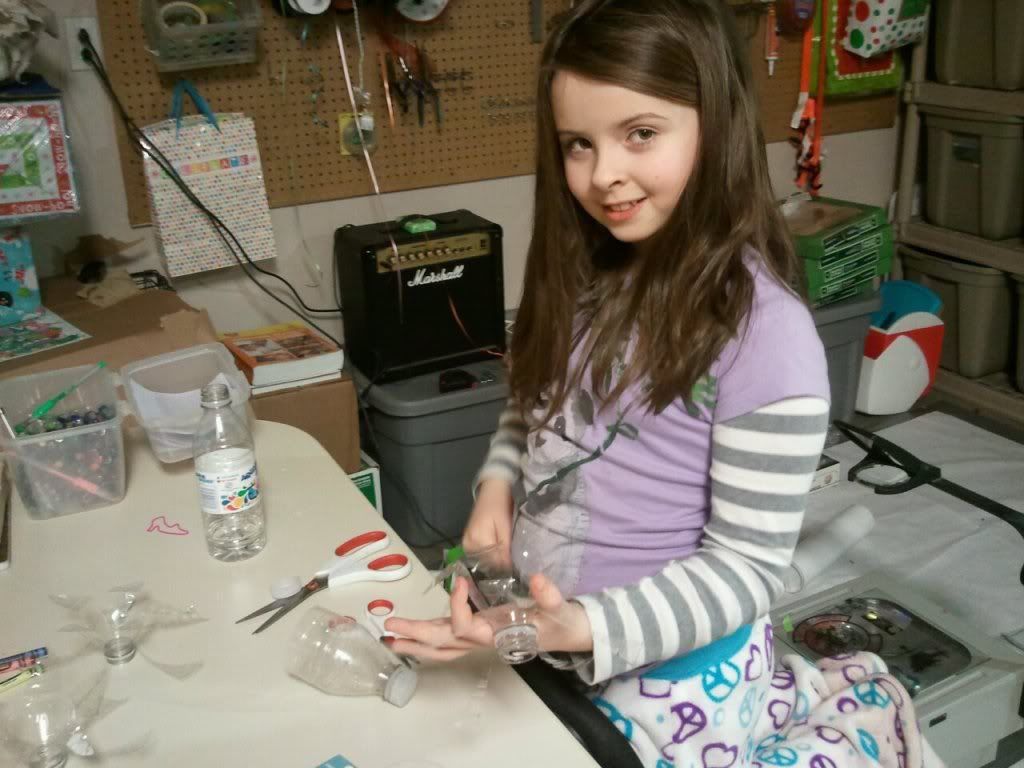
Because Little 'Possum is so freakin' smart, both of these will be a flower.
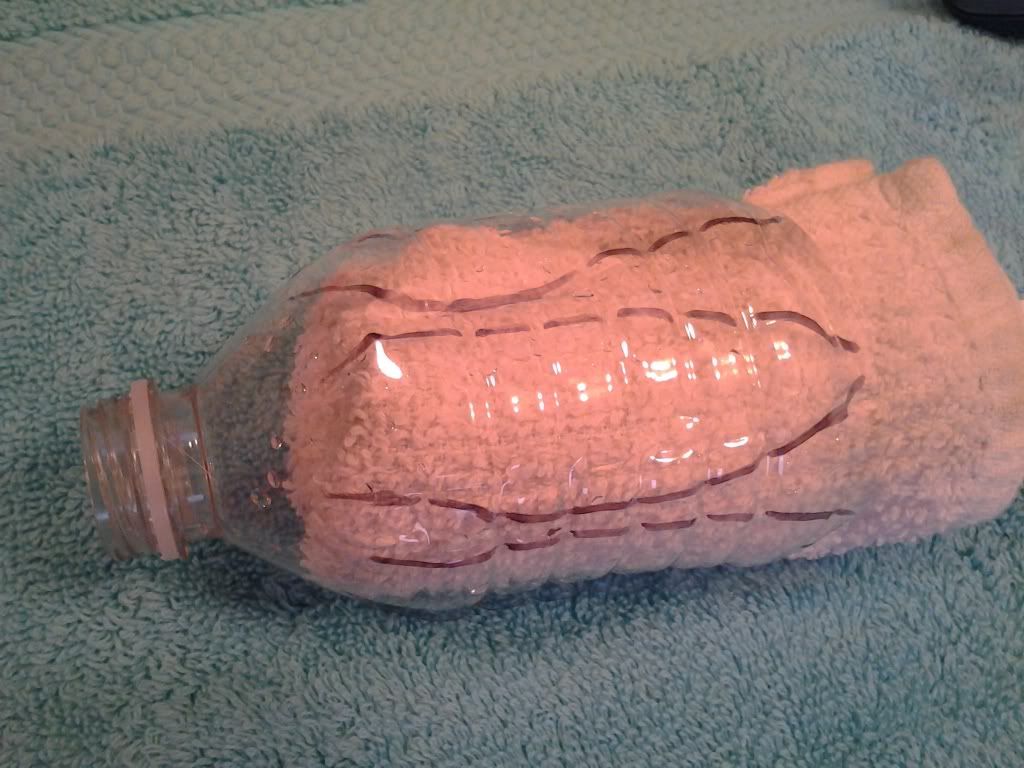
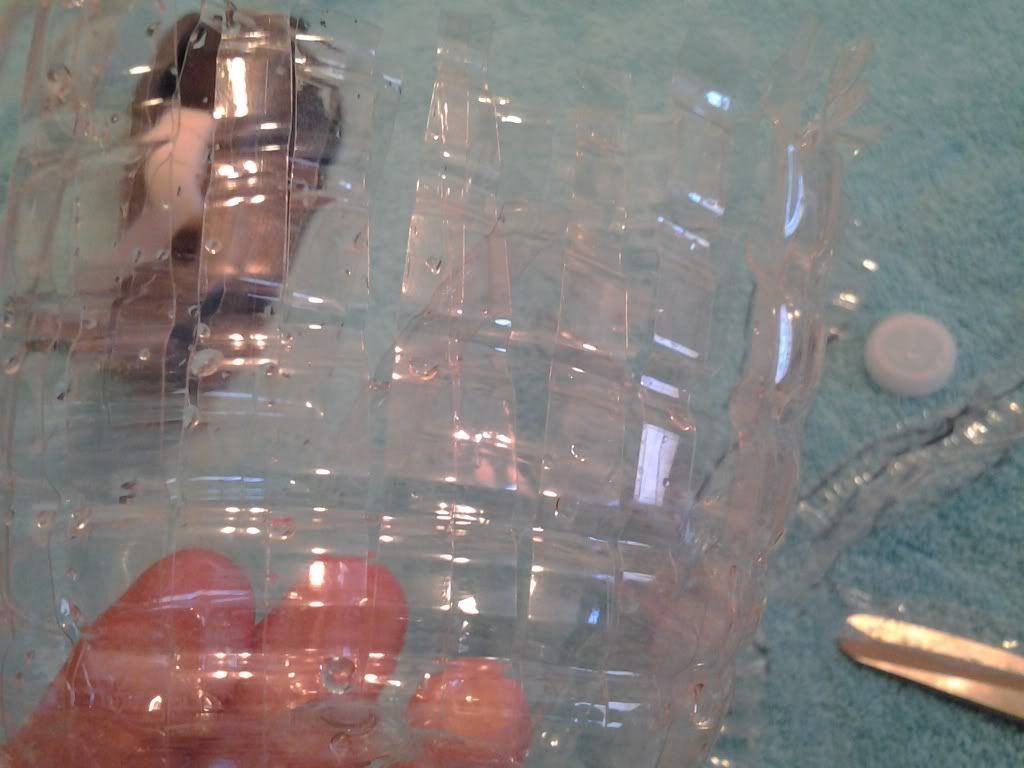
The towel and the drawing are totally unnecessary, but I didn't know how else to make this show up on camera. The lines are where you will cut petals. If you draw those lines, they will show through your paint, so don't do it. Free hand cut it. It's just a water bottle. Be brave. You aren't going to cut any parts off the bottle. All the plastic stays on. just cut down to that line.
The relief, or parts that stay between what you cut are petals, too. ; )
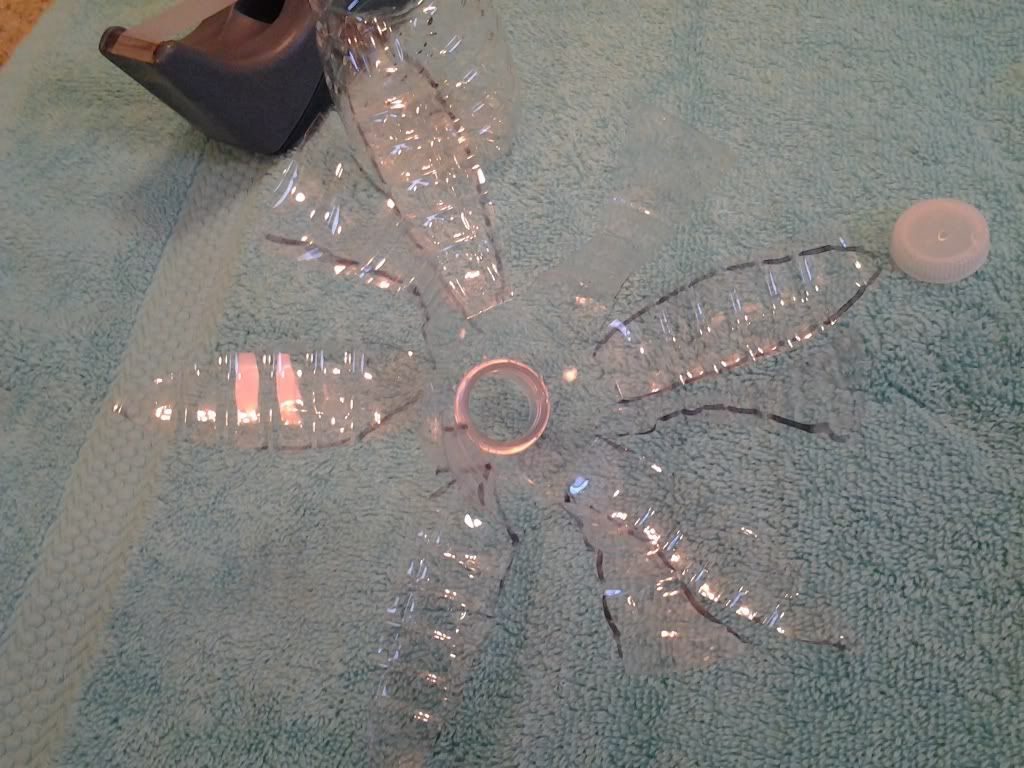
Now that you have cut the petals, you can bend and crease them. I bent the big petals down and left the reliefs up. Simply pinch the plastic with your fingers and it will usually make a crease and stay. Play with it. Find your happy place. Happy little petals...Bob Ross moment. "Possum's Joy of Garbage"
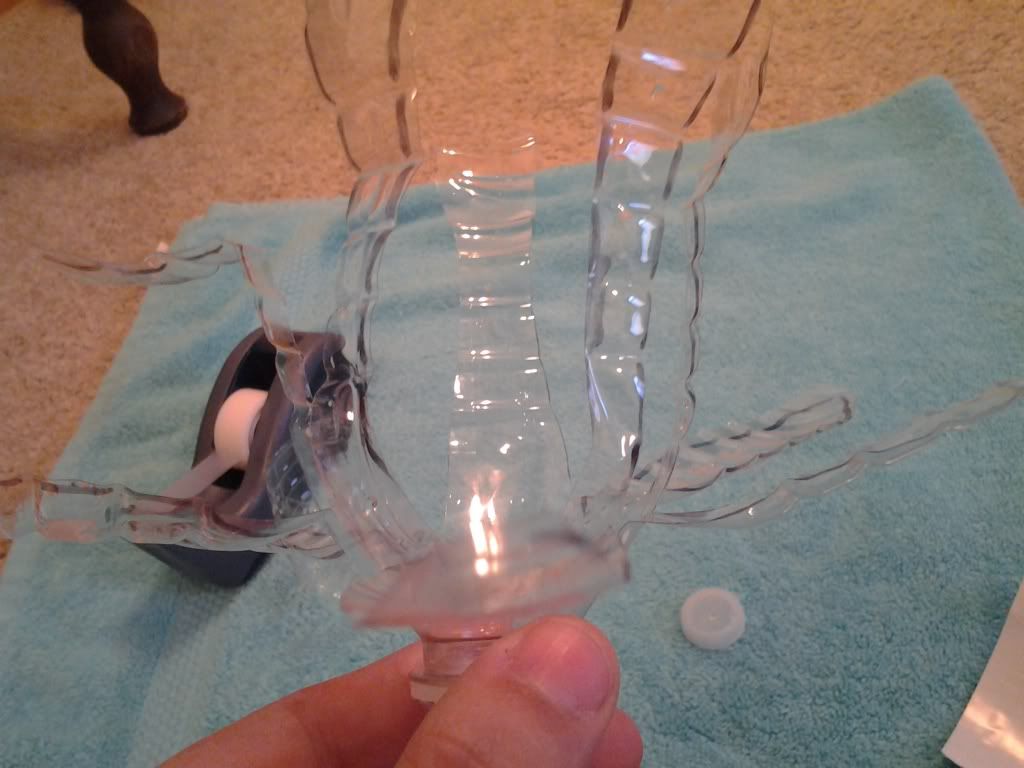
Side view of folded petals. Looks like some kind of wonky bug legged thing to me.
It will look awesome when you paint it.
I told Little 'Possum the bottom of the bottle was just too much to waste back into the recycle bin and she came up with this AWESOME TULIP! Here's how.
Cut many tiny straight strips all the way around the bottom. You are holding the closed part. Think jellyfish.
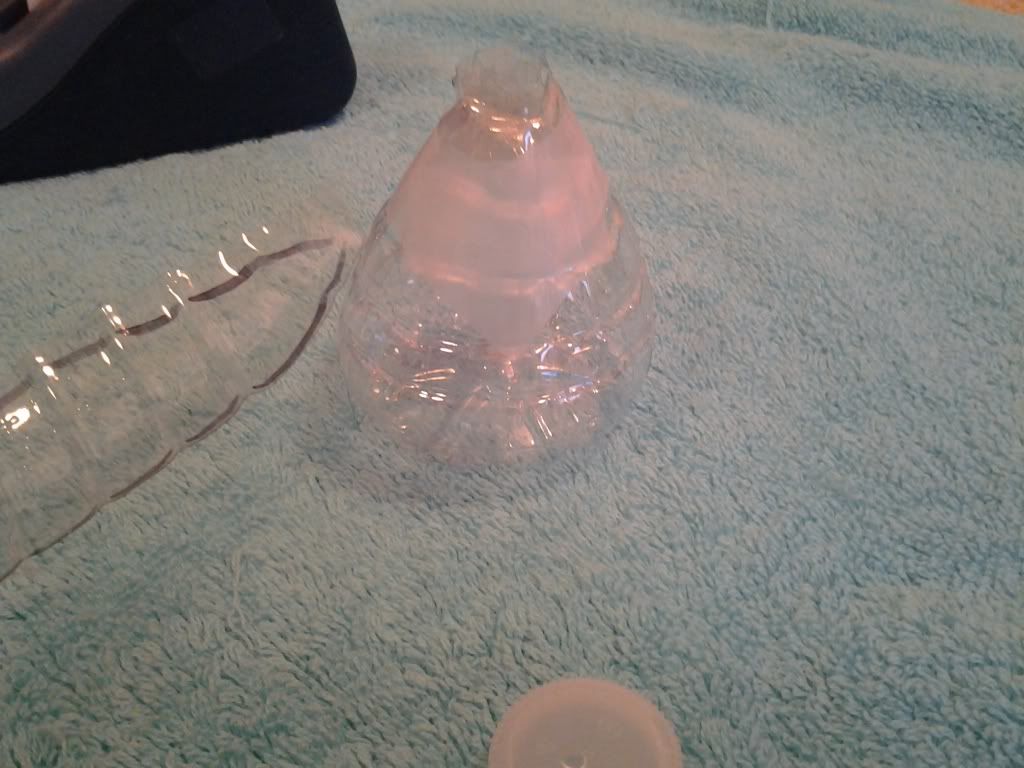
Now just use your tape to secure them in a cone shape. We use Scotch Magic tape because it is not glossy and the spray paint will stick to it a little better than super shiny packing tape. We think.
The next thing you need to do is stem your flowers. I would say do this in a well ventilated area, but really what I mean is GO OUTSIDE. Do NOT do this in your home. We used a soldering iron and made two holes in the part of the bottle where the cap screws on. This is where the floral wire stem is attached. Go through the holes then around the threads. I had to wrap mine around a few times to achieve stability, and I used a 14 or 16 gauge stiff wire. On the tulips, we simply pierced two holes in the bottom and threaded the wire through. Be bold. Experiment with what you have and make it work. That is the whole point of garbage art and it is one of the reasons I will not show you how to do every little nit pickin' thing. ; )
Now have fun and PAINT AWAY!
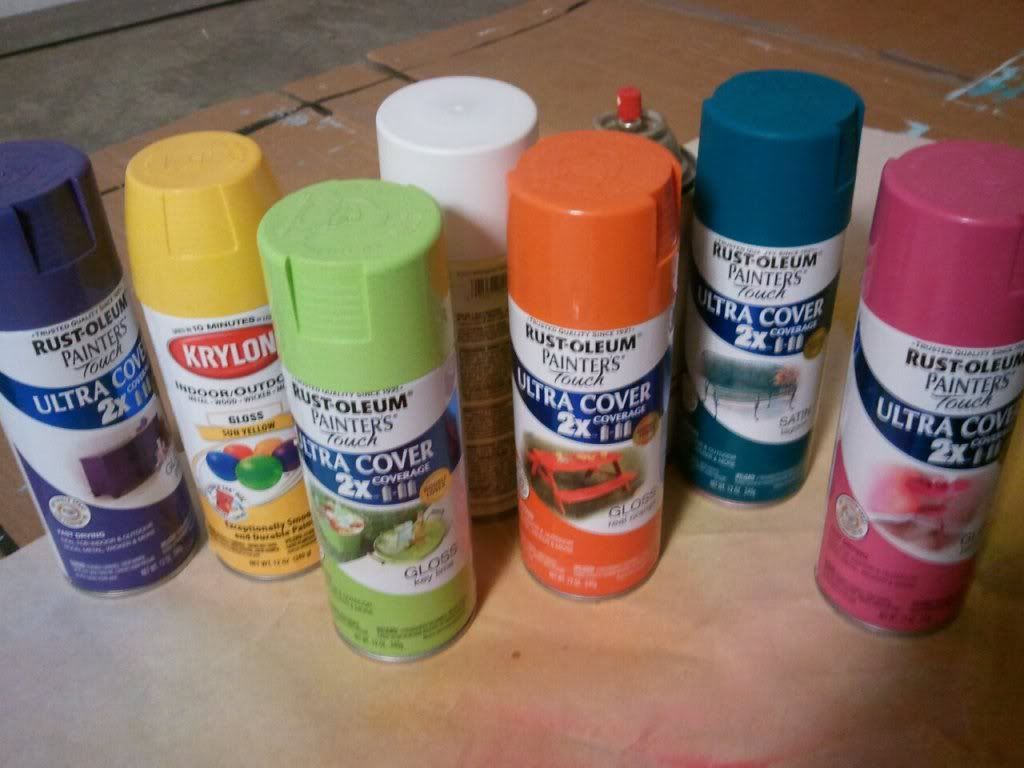
I really do keep this at my house. It is a staple like flour or milk.
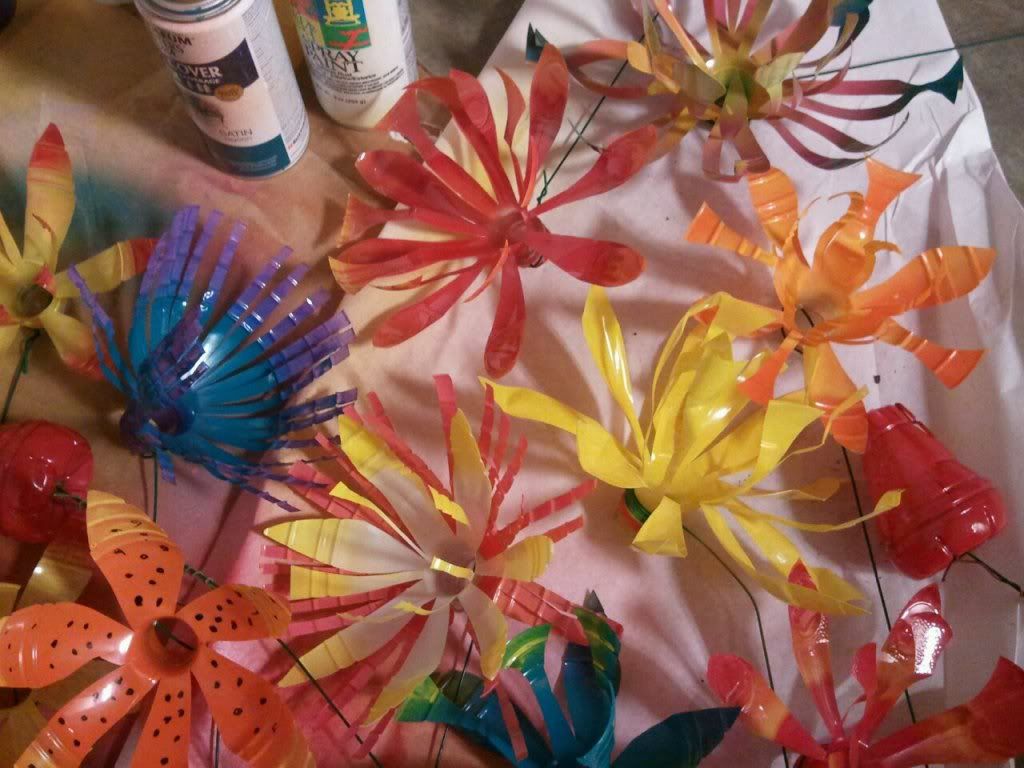
Remember, you can paint the inside and outside of your plastic...you can layer colors...

groovy baby, and note the placement of the stem wire,
through the melted holes, then wrapped at the bottom
through the melted holes, then wrapped at the bottom

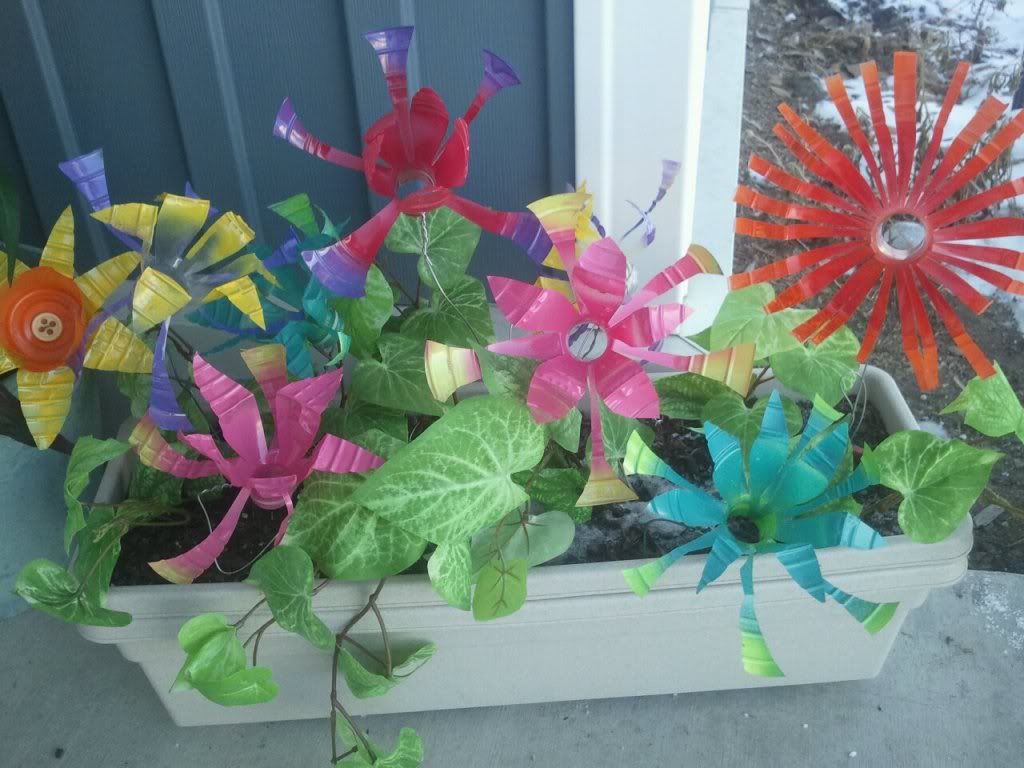
and you don't have to stick with water bottles...look at our Jell-O cups.
They are crammed in the bottom of a bottle for a daffodil.

Oh, and look at that cute button to hold our stem in place.
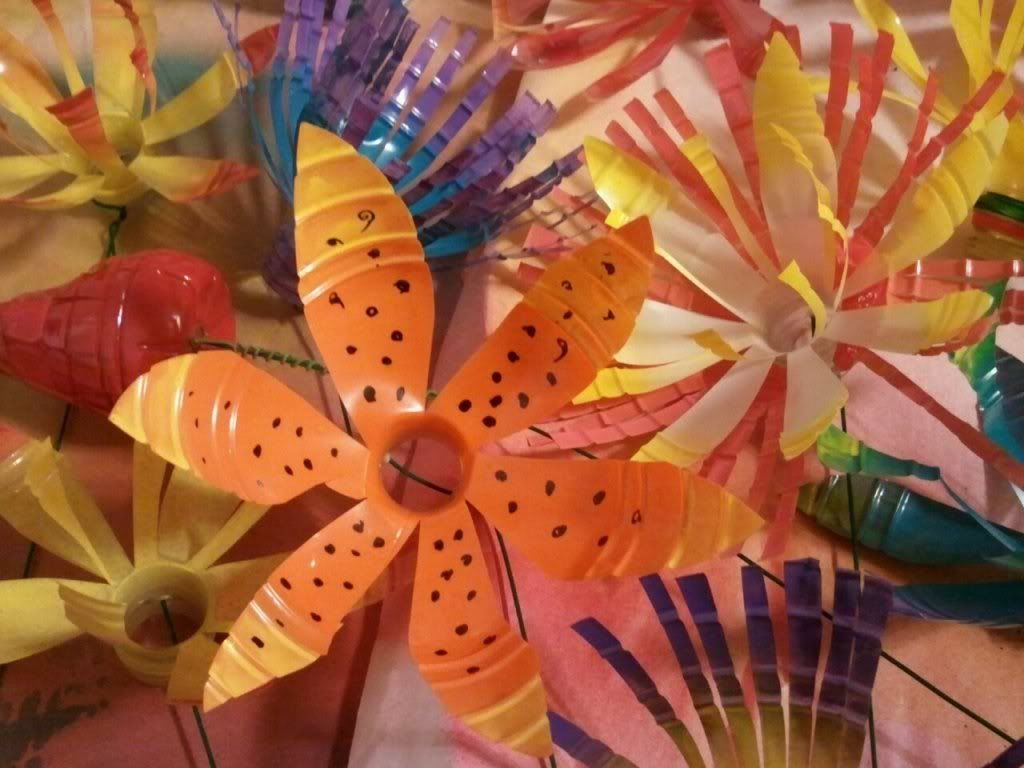
tiger lily?
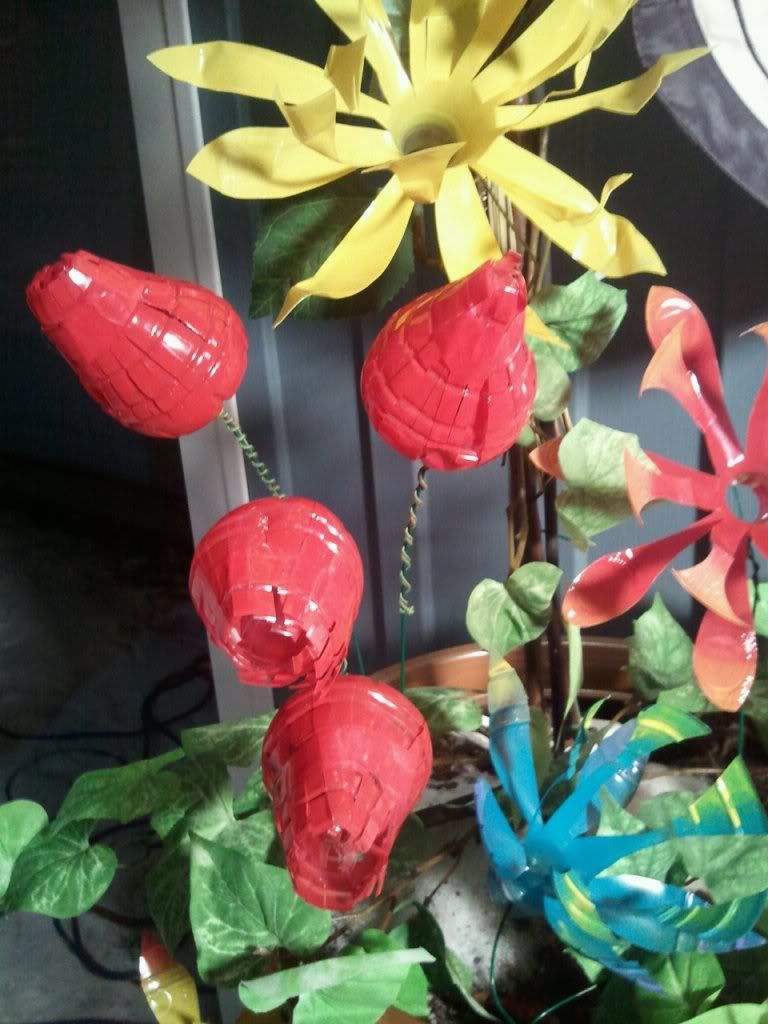
LP's Amazing Tulips, I wondered if the tape would stay put,
but these have been on our porch for well over a year now!
Don't ever be afraid to try something in crafting. If you are afraid to try it, you will never know if it worked or not. So what if it fails, you try again and make it better. We didn't get the stems right the first time, we put several miscut "flowers" back in the recycle bin. It's okay. Keep trying until you get it right.
Be brave and adapt. Be a 'Possum. You know they've been around like 70 million years???
See, I told you this wasn't a sad post. : )
See, I told you this wasn't a sad post. : )


I'm so glad you posted these!!!! You are so creative!
ReplyDeleteThis comment has been removed by the author.
ReplyDelete