
Anyway, here in Alaska you can only get a couple good months of garage saling in each year. The rest of the year (9 months of winter) it is just too darn cold. 40 below is not conducive to deal making. Trust me on that one. Now to the sad part of my story. I haven't been to a garage sale in almost two years. Feel badly for me, people. This is serious. Luckily for me though, I did get a couple of things last time I got to go. I stored them in the garage through my husband's last deployment. When he got home, (and wanted to rebuild a truck) we both quickly realized some stuff had to go. I told you this was a sad story. Oh but I am a crafty girl, so I did some clever rearranging and I found some places to stash some stuff a little bit longer. Yay me! Now, I'm gonna show you why I kept it, even though Mr. 'Possum kept saying it was broken garbage. Here's a fabulous furniture recycle remix! You won't be able to copy it exactly, but I hope you can start to see potential in the stuff you already have and apply some of these techniques to your own re-do's.
1. Start with WOOD or metal when you are refurbishing furniture items. You can sand and repaint or refinish multiple times. When you are using pressboard or particle board furniture, you just aren't going to get the durability your time and effort deserve, so look for REAL wood at sales.
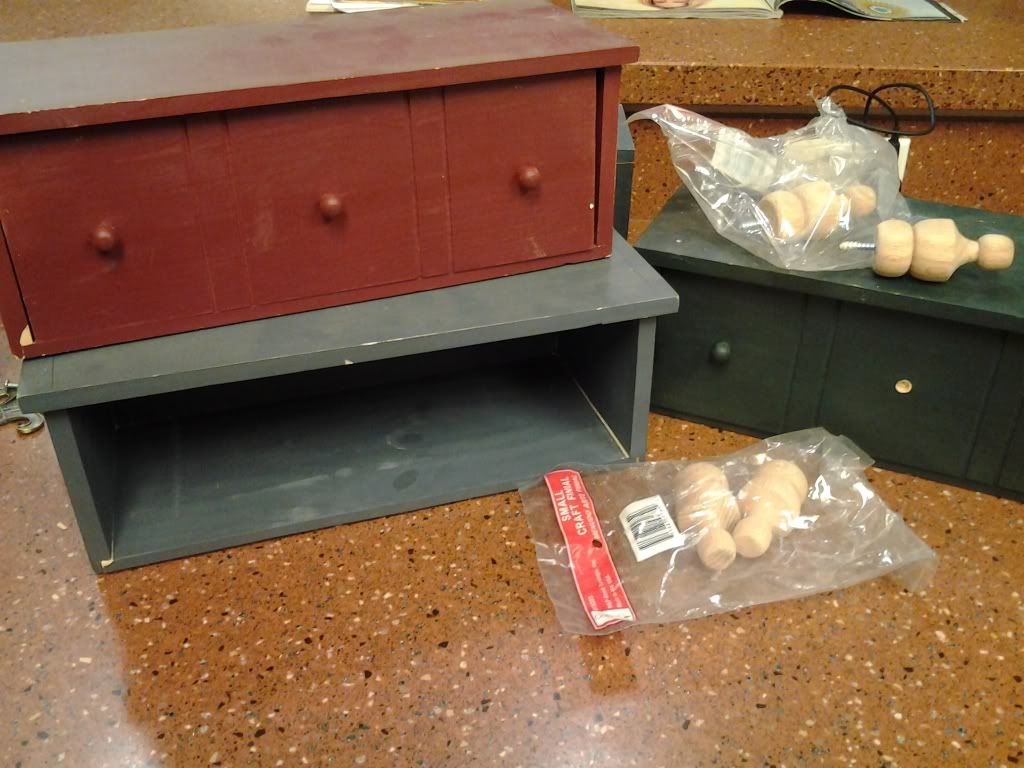
These are the little wooden boxes I started this project with. You can see they are faded, rustic, dented, damaged...whatever. They are WOODEN and the set was $5.00 Also pictured are some decorative finials I keep on hand most of the time for projects. They cost about $2.00 per pair at Lowe's Home Improvement Warehouse.
The idea for these boxes finally came to me. I bought them because I know I love tiny dressers with lots of drawers. We have a few around the house stuffed with all kinds of treasures, like too many rubber ducks, a rock and mineral collection, playing cards, and strange, tiny things that make us happy. Let's do this.

2. PILOT HOLES - you need them. This "dresser" is going to need feet...Adorable 'possum feet.
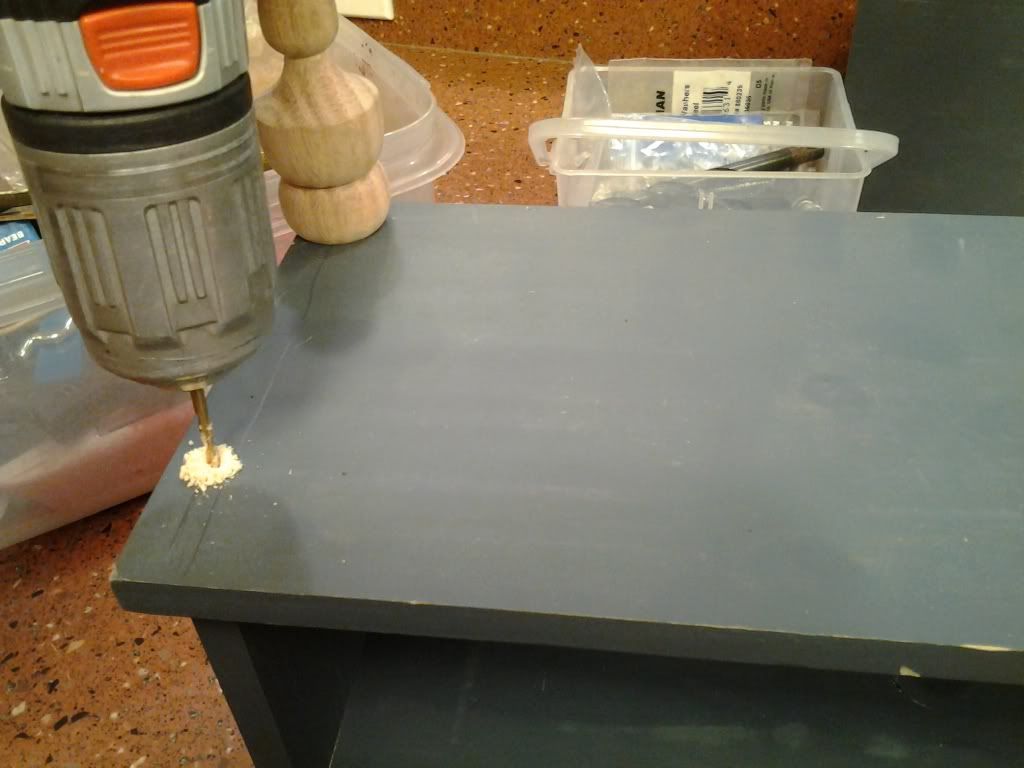
Enter the finials. The ones I have already have (that I am not hoarding) have screw type ends on them, I just have to put them on the bottom box. These boxes are a very thin wood, so I measured where the wood was and drilled pilot holes for my finial screws. If I just went straight into the wood it would split. It still happens, but this lessens the chance. I used a drill bit that was quite a bit smaller than my actual screws. If you use the same size, you run the chance of "missing" and drilling out the side of the box. Hold your drill very straight, so you don't miss.
3. SANDING-Normally I would tell you to sand a project, but this paint was soaking up every bit of moisture I put on it while I was trying to clean it. That means it is porous and it's also going to soak up my paint when I spray it on. I skipped this step. It's a judgement call.
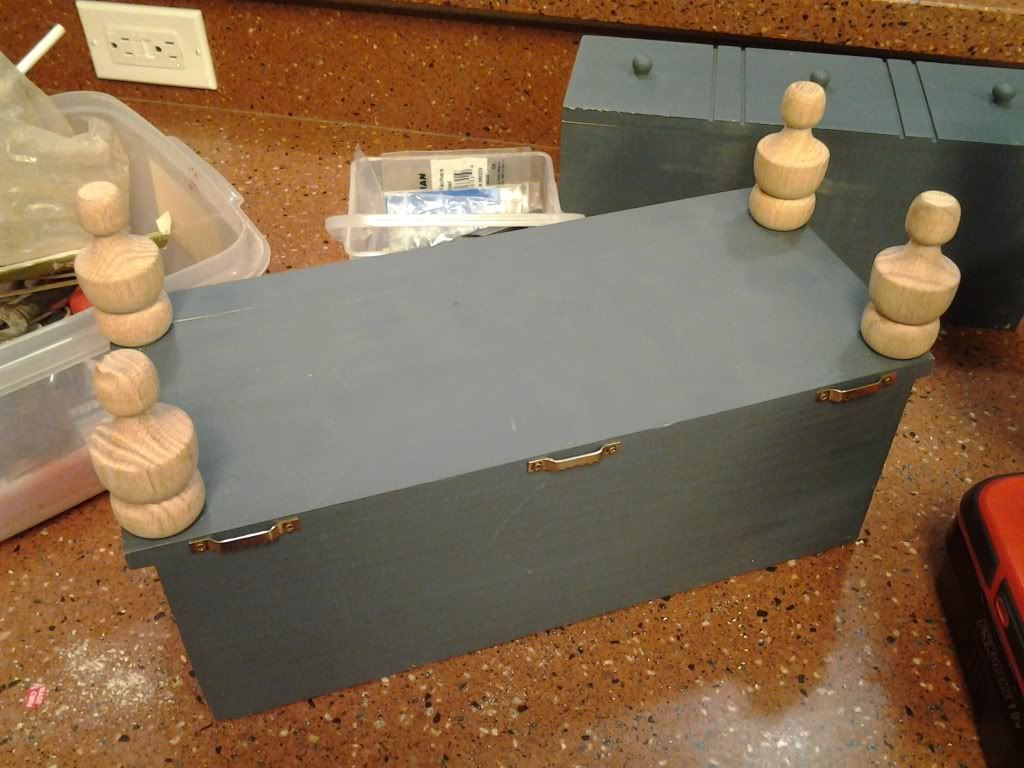
Oh now you see what I'm doing here.
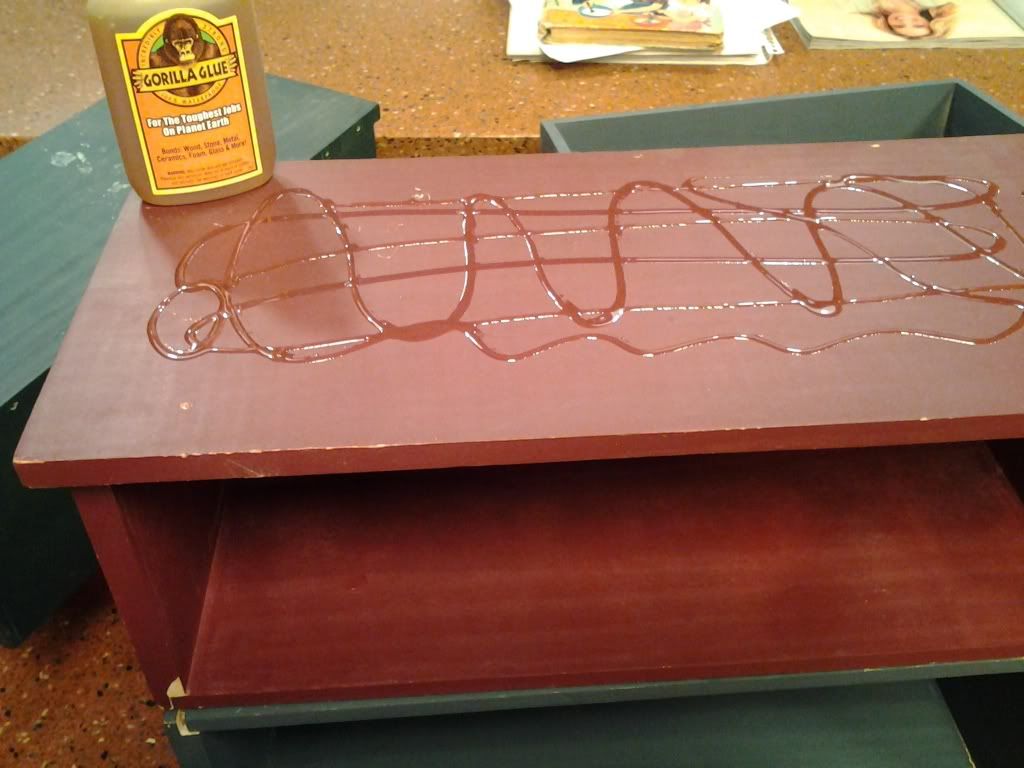
4. Attaching the pieces. GLUE AND SCREWS. I prefer to screw when I can. (just leave that one alone)
It's more stable and you can take it apart on your next recycle if you choose to do one. In this case, the wood I was working with was so thin it required both glue and screws because there was literally nowhere to screw from top to bottom without interfering with the drawers sliding in and out. My glue of choice: GORILLA GLUE!
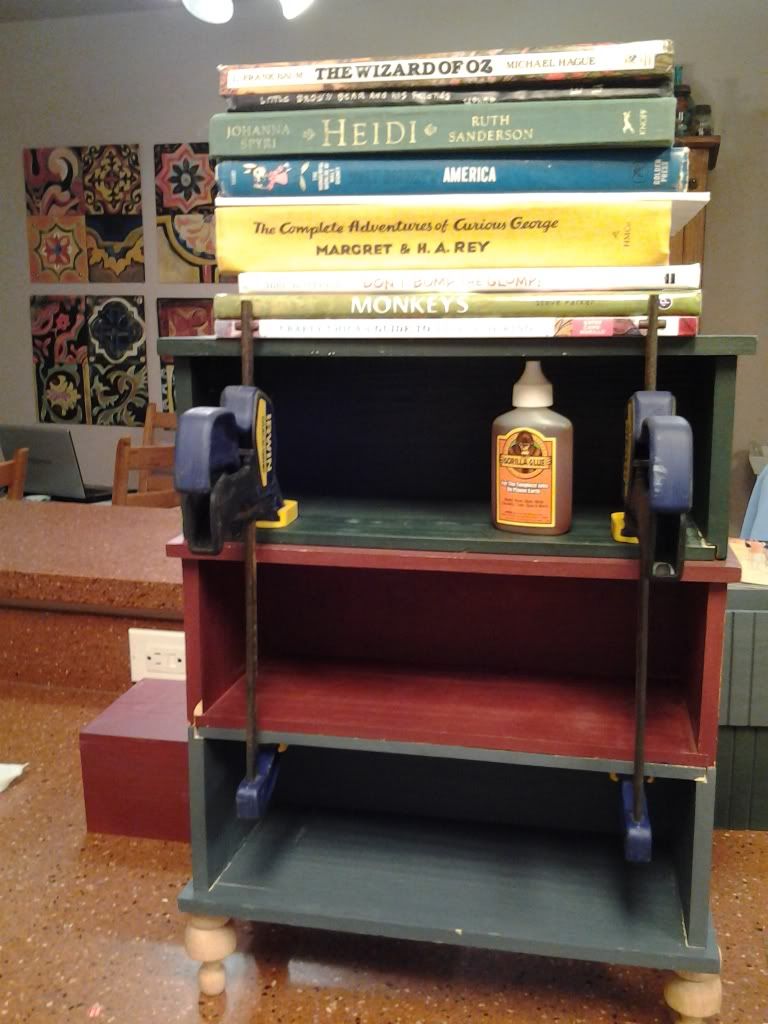
5. CLAMPING is very important. The glued pieces want to slide. It's just the nature of the beast. I clamped and placed heavy objects to keep my pieces in place.

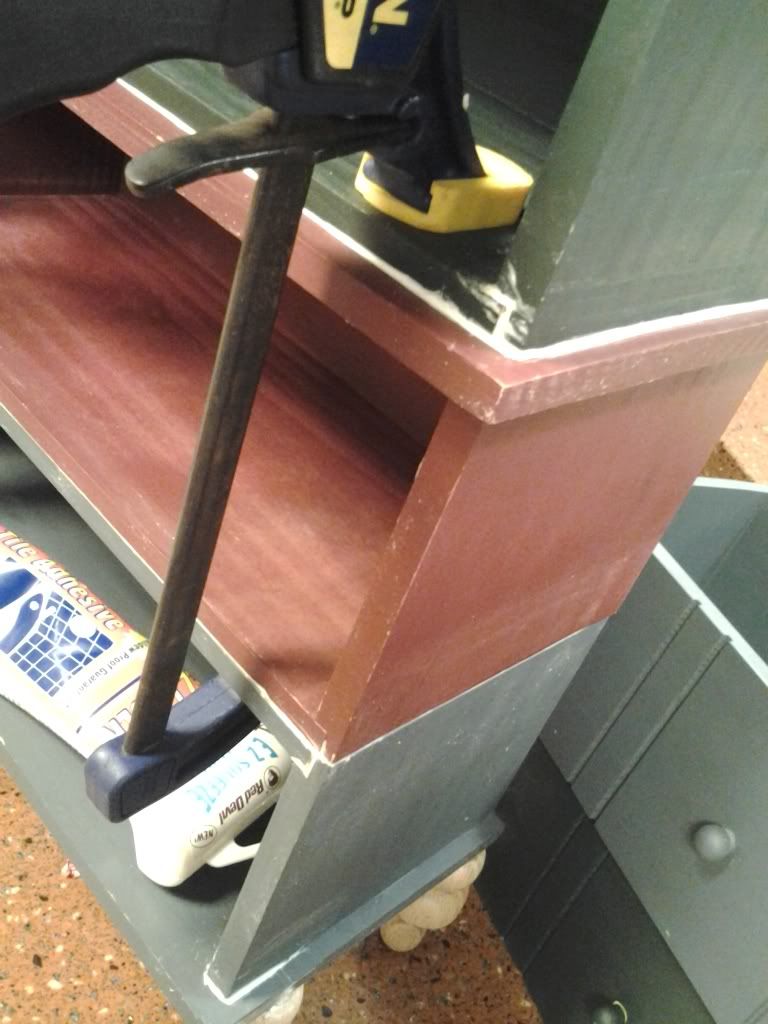
The whatchamahoodler is spanning the pieces and screwing them together to provide stability. Note the makeshift washers. Don't forget your PILOT HOLES! (Yes, my whatchamahoodler is rusty. RUSTOLEUM spray paint allows me to mostly ignore that. shhhhh)
6. CAULK can be used to fill holes and that inevitable wood split. These got all cracked up because they are in Alaska and during that 9 months of winter, that is what happens when you have cabin fever, plus there is no humidity. Dry wood splits. Use a sandable, paintable caulk for your project. I use my fingers to work it into the cracks. Wipe away the extra caulk before it dries. Caulking the seams will make your project look much more cohesive and craftsmanly.
See the white caulk filling the little nooks and crannies?
7. PATIENCE is key. This is the hardest part. YOU MUST WAIT FOR GLUE AND CAULK TO DRY. It's even more boring than waiting for water to boil, but if you don't wait it out and you rush the project, you are going to have to do it twice because you are going to have to undo the wrongness and re-right it.
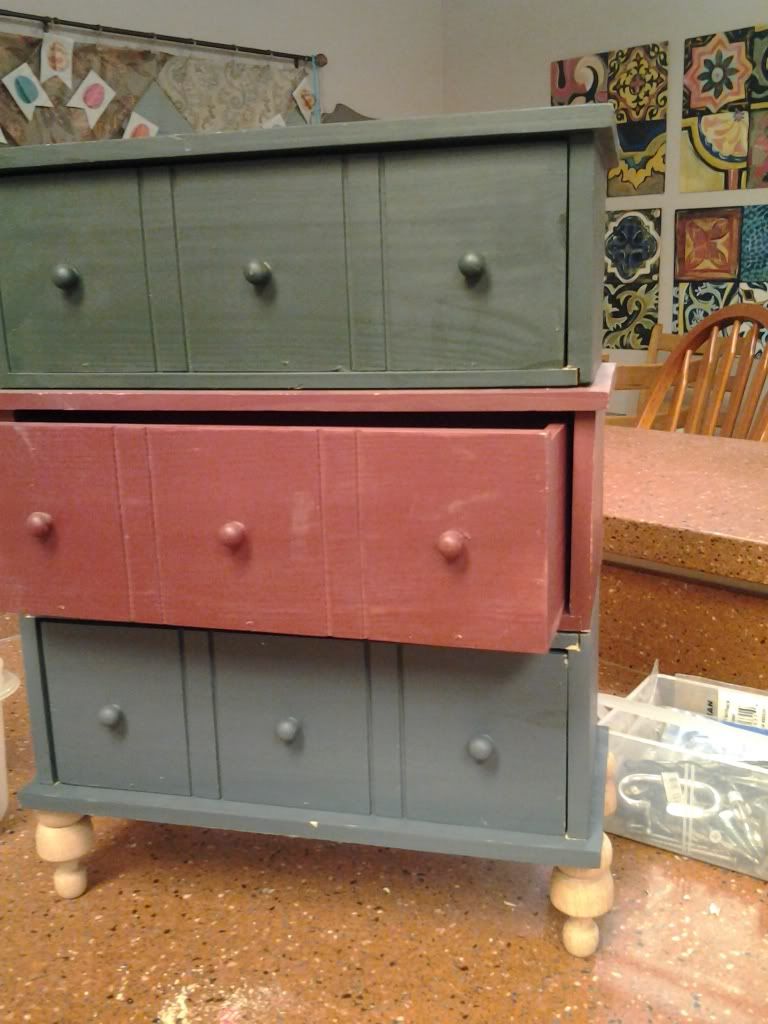
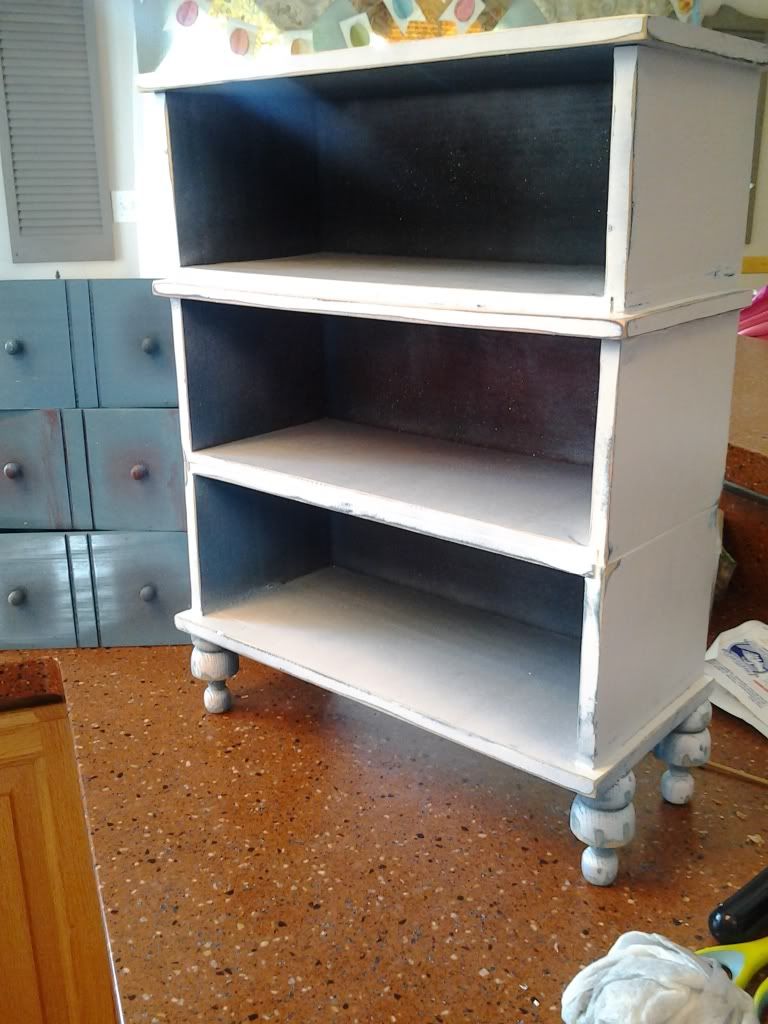
8. PAINTING is the most fun. I had to sleep on this one while I was waiting for the caulk to dry. But first thing the next morning I got to spray paint it! For this finish there are two coats of paint. The first coat was a satin finish aqua blue. After that coat is dry, the top coat of satin finish white was added. The edges were sanded to make it look shabby. Now the blue and some of the bare wood show through.
You can see the drawers aren't painted with white. They are on the edges, but the inside was left blue for a nice contrast when they are opened. The fronts were not double painted for a different reason. Those are going to be decoupaged with patterned paper and MODPODGE glue.
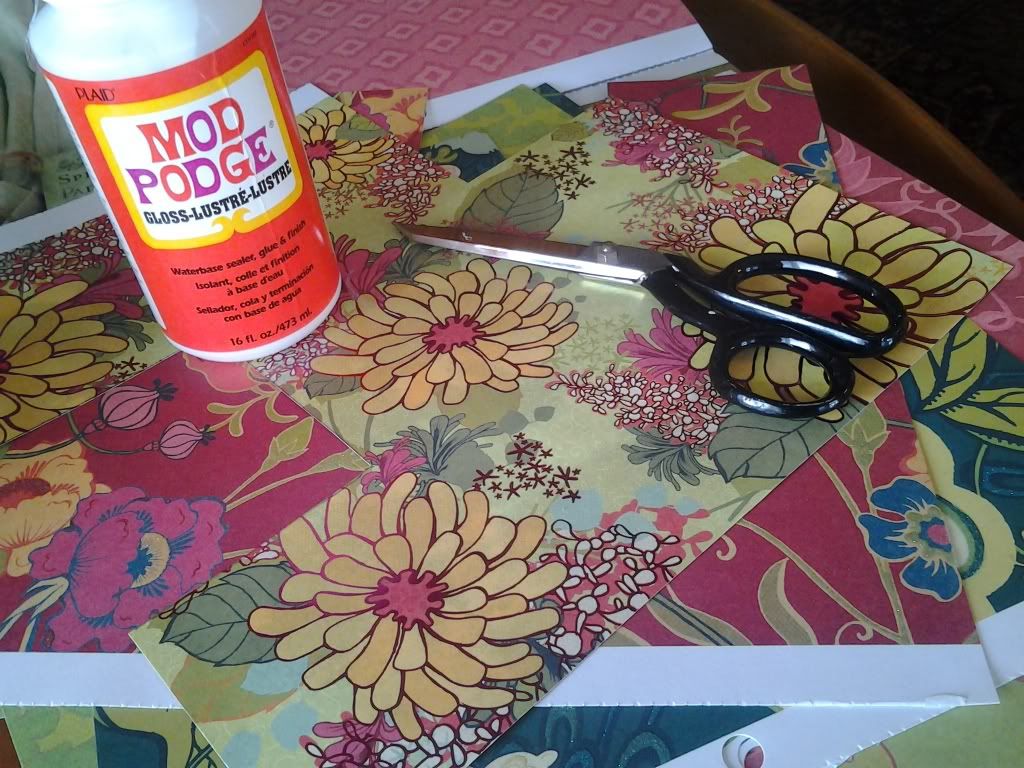
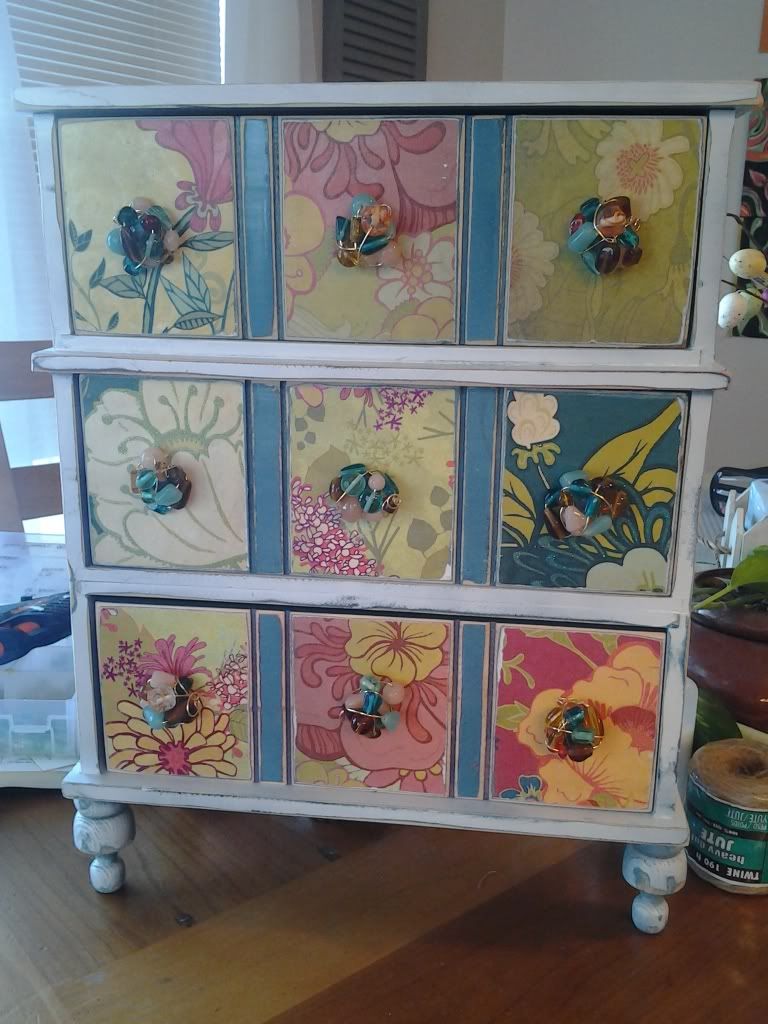
9. DETAILS are what make your new piece unique. This little dresser features decoupaged patterned papers which all came out of a coordinated(this means they all go together and you don't have to think about making them match) scrapbook block. It also has updated knobs made from wire and glass beads. The drawer edges were also sanded.

And here's the finished piece.
And now I have a new place to hide things. :) This one sits on my dresser with vitamins and ponytail holders and the little bits that clutter that space.
Thanks for stopping by, and I hope you found something useful or at least a little bit inspiring. I have many more projects to upload, so stick around. Or go garage saling and come back with lots of junk. You can make it pretty.

I love, love, love this!!!!!
ReplyDelete